ผมไม่คิดว่า What the Duck ปีนี้จะมาเร็วกว่าที่คิด 😂
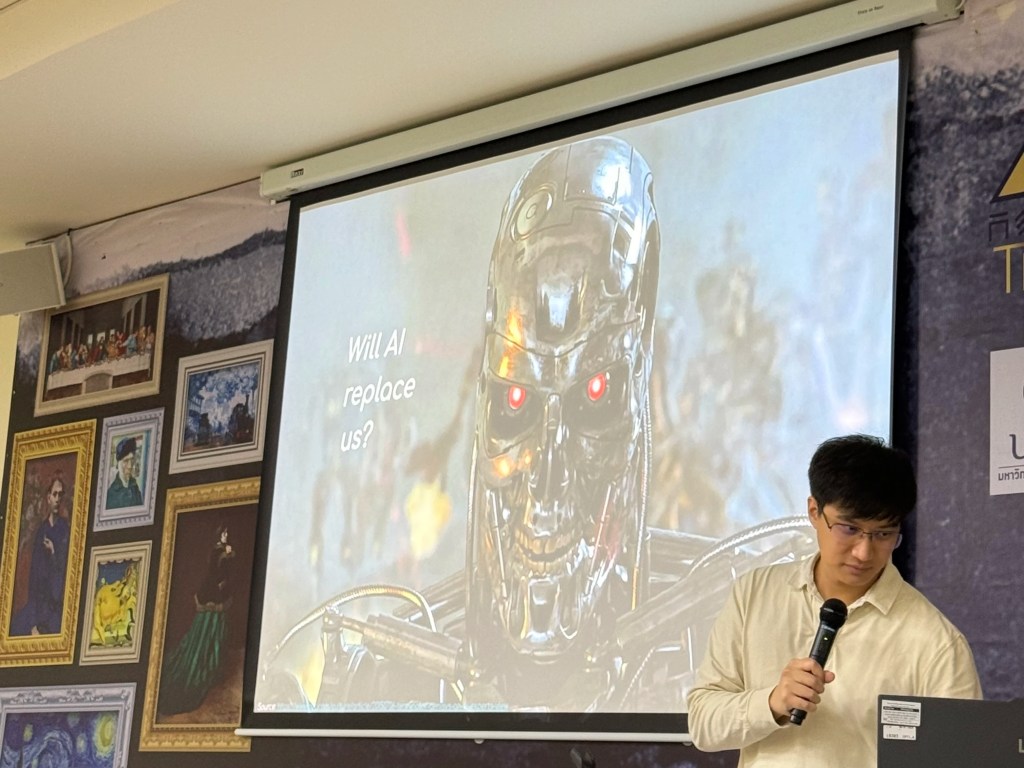
วันอาทิตย์ที่ผ่านมา ผมได้ไปร่วมงาน Mini What the Duck 2026 ที่พี่ทอย DataRockie จัดขึ้นที่ BIG Co-working Space
ในงาน พี่ทอยแชร์เนื้อหาจากงานอื่นก่อน ๆ โดยเฉพาะ What the Duck 2025 ที่จัดออนไลน์เมื่อปลายปีที่ผ่านมา
ในบทความนี้ ผมขอสรุป 10 ไอเดียที่น่าสนใจจากงาน โดยผมได้เสริมเนื้อหาจากงานก่อน ๆ และจากที่ทำ research เพิ่มเข้าไปในแต่ละไอเดียเพื่อให้ครบถ้วนมากขึ้น
ถ้าพร้อมแล้ว ไปเริ่มกันเลย
- 🔥 Idea 1. Three Most Important Skills
- 💧 Idea 2. Accept the Reality
- 🧭 Idea 3. Agency
- 🔌 Idea 4. Energy, Not Time
- 👀 Idea 5. Make Yourself Discoverable
- 📈 Idea 6. Dissociate Income From Time
- 💡 Idea 7. What Won’t Change for Good Products
- ⭐️ Idea 8. AI Is for Experts
- 🧠 Idea 9. No One Knows the Future
- 👏 Idea 10. Last Message
🔥 Idea 1. Three Most Important Skills
ในยุคที่การศึกษาไม่ได้อยู่แค่ในมหาวิทยาลัย ทักษะสำคัญ 3 อย่างที่ทุกคนควรมี คือ:
- Thinking
- Writing
- Reading
.
Thinking หมายถึง การคิดอย่างมีประสิทธิภาพ
คนส่วนใหญ่คิดว่าตัวเองคิด แต่จริง ๆ แล้วเราคิดกันน้อยมาก
Two percent of the people think;
three percent of the people think they think;
and ninety-five percent of the people would rather die than think.
— George Bernard Shaw
ในยุคที่เราเข้าถึงข้อมูลปริมาณมหาศาลได้อย่างง่ายดาย thinking จะช่วยให้เราแยกแยะข้อมูลที่ดีออกจากข้อมูลที่ไม่ดี และทำให้เราตัดสินใจได้เฉียบคมกว่าคนอื่น
.
Writing เป็นการคิดแบบหนึ่ง
ถ้าจะเขียนได้ (เช่น เขียนบทความนี้) เราจะต้องคิดได้ก่อน แต่จะคิดได้ บางทีเราก็ต้องเขียนออกมา (เช่น ร่างบทความนี้)
Think -> Write -> Think -> Write -> ...
เมื่อเป็นแบบนี้ ยิ่งเราฝึกเขียนมากขึ้นเท่าไร เราก็ยิ่งฝึกความคิดให้ดีมากขึ้นเท่านั้น
Writing is thinking.
To write well is to think clearly.
That’s why it’s so hard.
— David McCullough
.
Reading คือ superpower
ในขณะที่พูด (และฟัง) ได้ 150–200 คำต่อนาที เราสามารถอ่านได้เร็วถึง 200–250 คำต่อนาที
ถ้าเรามีเนื้อหาใหม่ที่ต้องทำความเข้าใจ เราจะรับเนื้อหานั้นได้เร็วขึ้นถ้าเลือกที่จะอ่าน แทนที่จะฟัง
การอ่านเป็นทางด่วนในการอัปเดตความรู้ ถ้าเราอ่านหนังสือทุกวันติดต่อกันเป็นเวลาหลายปี ก็จะไม่มีใครหยุดเราได้ เพราะเราจะมีมุมมองและความรู้มากกว่าคนส่วนใหญ่
I probably read one to two hours a day.
That puts me in the top 0.00001%.
— Naval Ravikant
.
Combine
แต่ละทักษะโดดเด่นในตัวเอง แต่เมื่อรวมทั้ง 3 ทักษะเข้าด้วยกัน เราจะมี pipeline ที่จะขับเคลื่อนเราไปข้างหน้าอย่างไม่สิ้นสุด:
- Reading: หาความรู้
- Thinking: เชื่อมโยงไอเดีย
- Writing: ผลิตความคิดใหม่ ๆ
Reading -> Thinking -> Writing
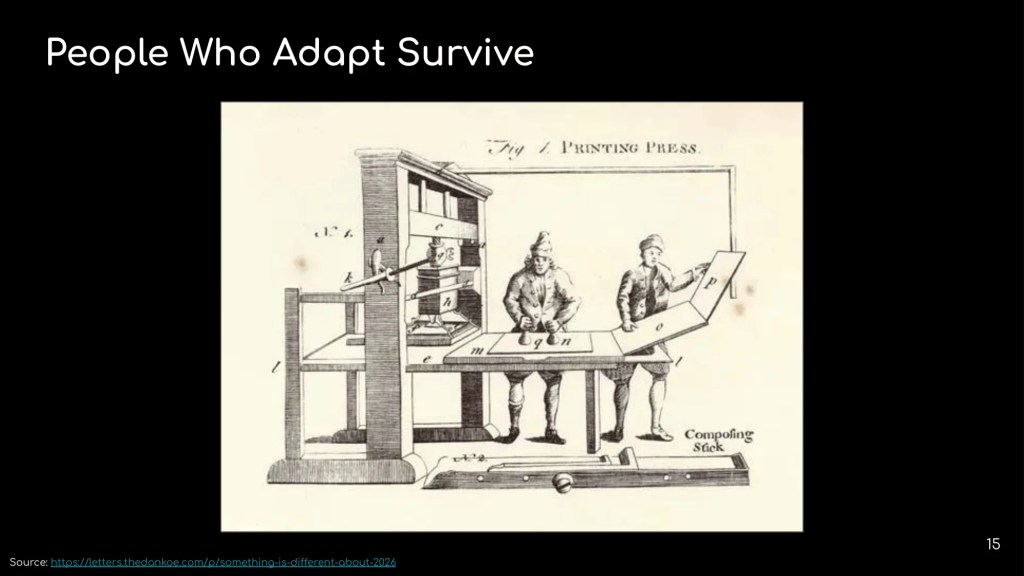
💧 Idea 2. Accept the Reality
ขั้นแรกของการเอาตัวรอด คือ ทำตัวเหมือนน้ำ
น้ำสามารถปรับตัวเข้ากับภาชนะอะไรก็ได้ แต่จะทำได้ก็ต่อเมื่อยอมรับความจริงว่า ภาชนะมีรูปทรงอย่างที่เป็น และปรับตัวเข้ากับรูปทรงนั้น
เราจะเอาตัวรอดในโลกได้ ก็ต้องยอมรับความจริงอย่างที่เป็น และปรับตัวเข้ากับความจริงนั้น
Water adopts the shape of its receptacle,
it is sometimes a trickle
and sometimes a wild sea.
— Miyamoto Musashi
🧭 Idea 3. Agency
Agency คือ ความสามารถในการเลือกทางเดินของตัวเอง และสร้างอนาคตของตัวเอง:
- คนที่มี high agency สามารถเลือกเป้าหมายของตัวเองได้
- คนที่มี low agency จะทำตามเป้าหมายที่คนอื่นกำหนด
Agency เป็นอีกทักษะที่จะทำให้เราอยู่รอด เพราะถ้าเราไม่มี agency คนอื่นจะกำหนดทิศทางให้กับเรา ซึ่งอาจหมายถึงเราจะไม่สามารถทำตามความต้องการของเราได้
If you don’t know what you want,
you will be told what you want,
and you will believe it.
If you don’t create a purpose,
you will be assigned one.
— Dan Koe
🔌 Idea 4. Energy, Not Time
สิ่งที่เราควรบริหารให้ดี ไม่ใช่เวลา แต่คือ energy
.
เวลามีจำกัด แต่ไม่ใช่สิ่งที่เราจัดการได้ เพราะเวลาจะเดินไปข้างหน้าเรื่อย ๆ ไม่ว่าเราจะทำอะไรก็ตาม
สิ่งเดียวที่เราทำได้ คือ เลือกสิ่งที่จะทำในแต่ละเวลาเท่านั้น
You can’t manage time;
you actually only manage
what you do during time.
— David Allan
.
Energy คือ แบตเตอรี่ในตัวเรา ทุกเช้าที่เราตื่นขึ้นมา แบตเตอรี่เราเต็ม 100% และลดลงเรื่อย ๆ ตามกิจกรรมระหว่างวัน
ยิ่งเราใช้ energy ไปมากเท่าไร เราก็ยิ่งมีแบตเตอรี่ให้ใช้น้อยลงเท่านั้น
ถ้าเราหมด energy ไปกับสิ่งที่ไม่สำคัญตั้งแต่ต้นวัน เราจะไม่มี energy ให้กับสิ่งที่สำคัญตอนท้ายวัน
.
สิ่งที่เราต้องบริหาร ไม่ใช่เวลา แต่คือ energy เพื่อให้เรามี energy ไว้ใช้กับสิ่งสำคัญเมื่อเวลามาถึง
Time management is a lie. …
Time is not your limiting resource
—energy is.
— Jonathan Jenkins
👀 Idea 5. Make Yourself Discoverable
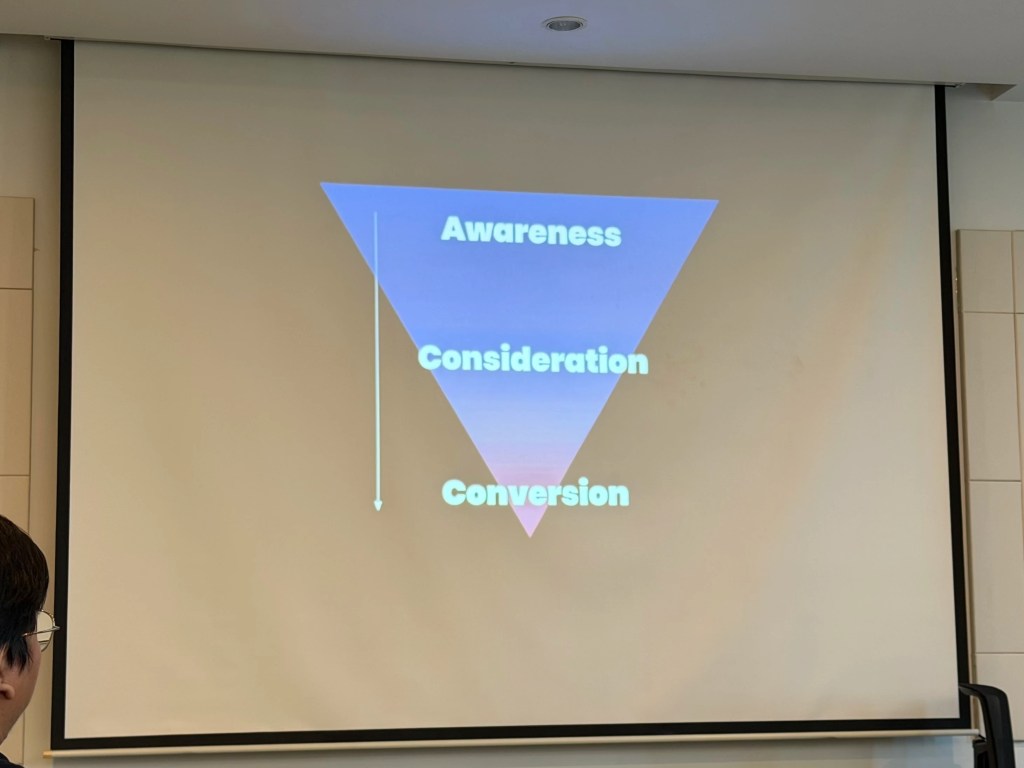
การสร้าง impact มีอยู่ 3 ขั้นตอน:
- Awareness: เป็นที่รู้จัก
- Consideration: มีคนพิจารณา
- Conversion: มีคนซื้อ/เข้าร่วม
.
Awareness: ถ้าเราอยากสร้าง impact เราจะต้องทำตัวเองให้เป็นที่รู้จัก
ในยุคที่ส่วนใหญ่เข้าถึงอินเทอร์เน็ต เราสามารถทำให้เป็นที่รู้จักได้ง่าย ๆ ด้วยการมีเว็บไซต์เป็นของตัวเอง
.
Consideration and conversion: การมีเว็บไซต์อย่างเดียวไม่พอที่จะสร้าง impact
ถ้าเรามีเว็บไซต์ แต่ไม่มี content ก็จะไม่มีใครรู้จักเรา
เว็บไซต์ที่สร้าง impact จะต้องมี content ที่ดี ซึ่งมีลักษณะ 4 อย่าง ได้แก่:
- Experience: สะท้อนประสบการณ์เฉพาะตัว
- Expert: สื่อถึงความเชี่ยวชาญ
- Authoritative: มักเป็นที่กล่าวถึง/อ้างอิง
- Trustworthiness: น่าเชื่อถือ
Impact = Website + Quality Content
📈 Idea 6. Dissociate Income From Time
รายได้ที่ยั่งยืน คือ รายได้ที่ไม่ผูกติดกับเวลา
เราแยกรายได้ออกจากเวลาได้ด้วย leverage
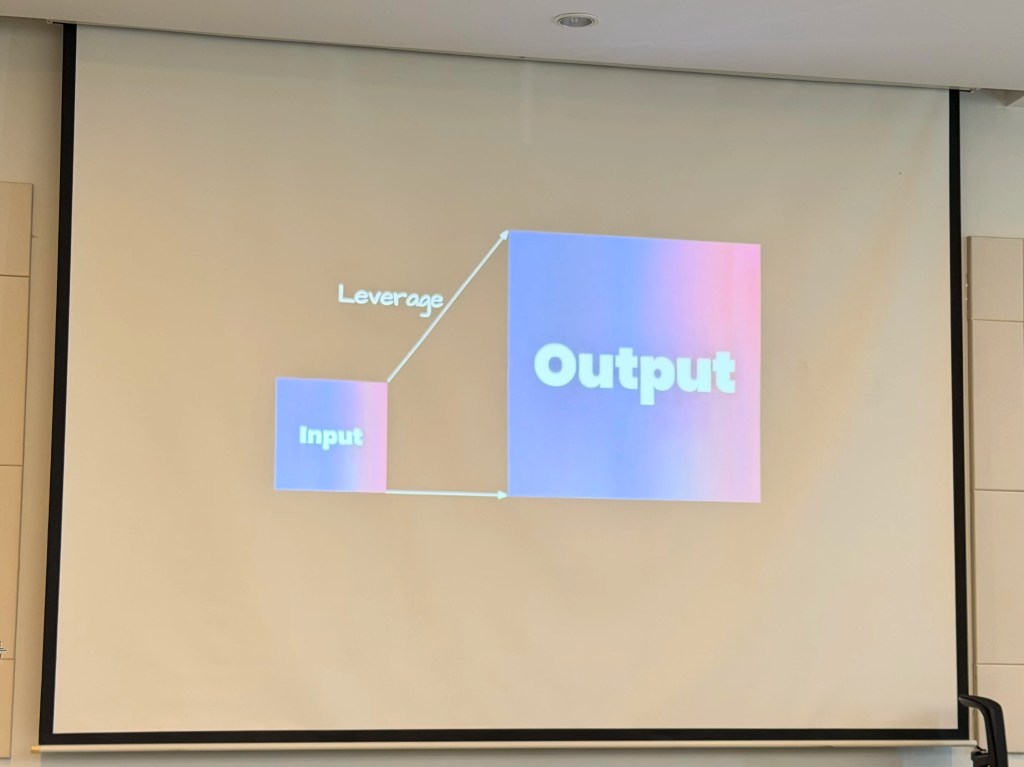
Leverage คือ ตัวคูณที่จะขยาย impact ของเรา และแบ่งเป็น 2 ประเภท:
- Permission-based เช่น เงินและแรงงาน ที่เราต้องขออนุญาตจากคนอื่นก่อน
- Permission-less เช่น หนังสือ โค้ด สื่อต่าง ๆ ที่เราสามารถสร้างได้โดยไม่ต้องขออนุญาตจากใคร และทำซ้ำได้โดยใช้ต้นทุนเกือบเป็นศูนย์
เราสามารถแยกรายได้ออกจากเวลาได้ง่าย ๆ ด้วย permission-less leverage เช่น:
- เขียนหนังสือ
- แต่งเพลง
- ถ่ายภาพ
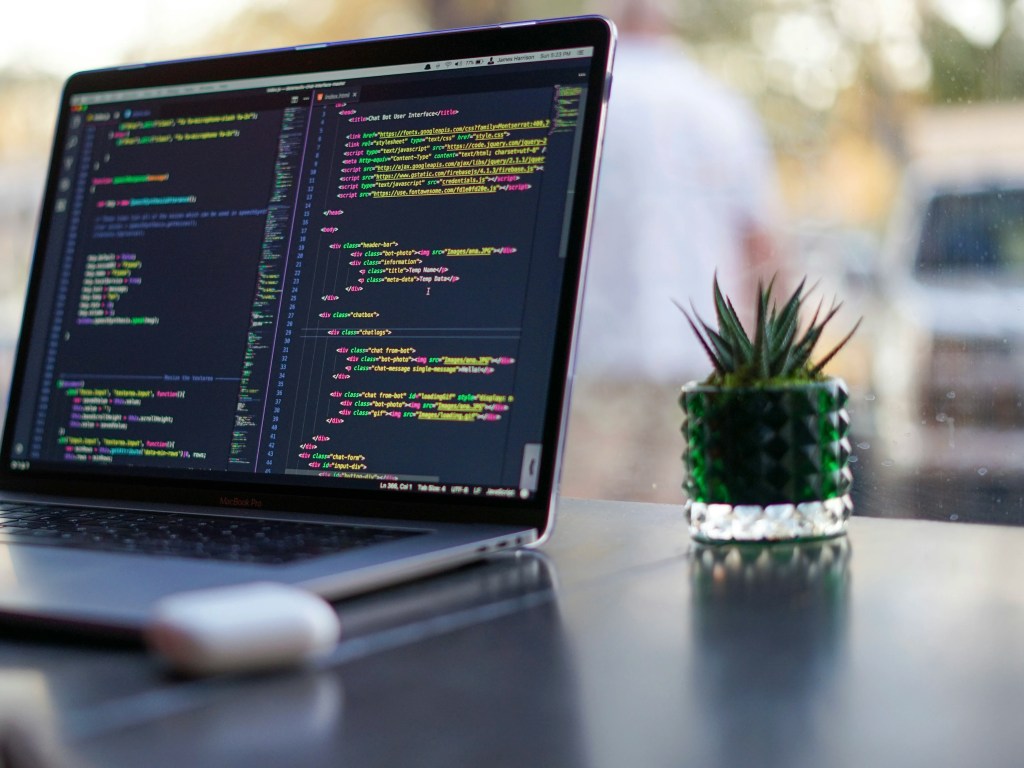
- เขียนโปรแกรม
สิ่งเหล่านี้สามารถช่วยสร้างรายได้ในขณะที่เราหลับได้ และทำให้เรามีอิสรภาพทางการเงินที่มากขึ้น
💡 Idea 7. What Won’t Change for Good Products
คำถามยอดฮิตที่ผู้นำในด้านต่าง ๆ มักถูกถาม คือ ในอนาคต อะไรจะเปลี่ยนไปบ้าง?
แต่คำถามที่เราควรถาม คือ อะไรที่จะไม่เปลี่ยนไปบ้าง? เพราะแทนที่จะอยู่กับการคาดการณ์ เราจะปรับตัวอยู่บนพื้นฐานของสิ่งที่เรารู้อยู่แล้ว
พฤติกรรมมนุษย์เป็นสิ่งหนึ่งที่เปลี่ยนได้ยาก
ในการสัมภาษณ์ครั้งหนึ่ง Jeff Bezos กล่าวว่า ในอนาคต ลูกค้าจะยังคงมองหา 3 อย่าง:
- Price: ราคาถูก
- Quality: คุณภาพดี *
- Delivery: ส่งเร็ว
ถ้าเราสามารถสร้างของที่มีลักษณะ 3 อย่างนี้ได้ เราก็มีโอกาสที่จะประสบความสำเร็จมากกว่าคนอื่น
Customers are still going to want low prices.
They are still going to want fast delivery.
And they are still going to want a big selection.
— Jeff Bezos
.
Note:
- ใน quote จะเห็นว่า Jeff Bezos ไม่ได้พูดถึง quality แต่เป็น selection แทน
- แต่ผมยังเห็นด้วยว่า สำหรับ product ทั่วไป สิ่งที่ลูกค้ามองหาคือ solution ที่จะแก้ปัญหาได้ ไม่ใช่ทางเลือก เหมือนกับ e-commerce
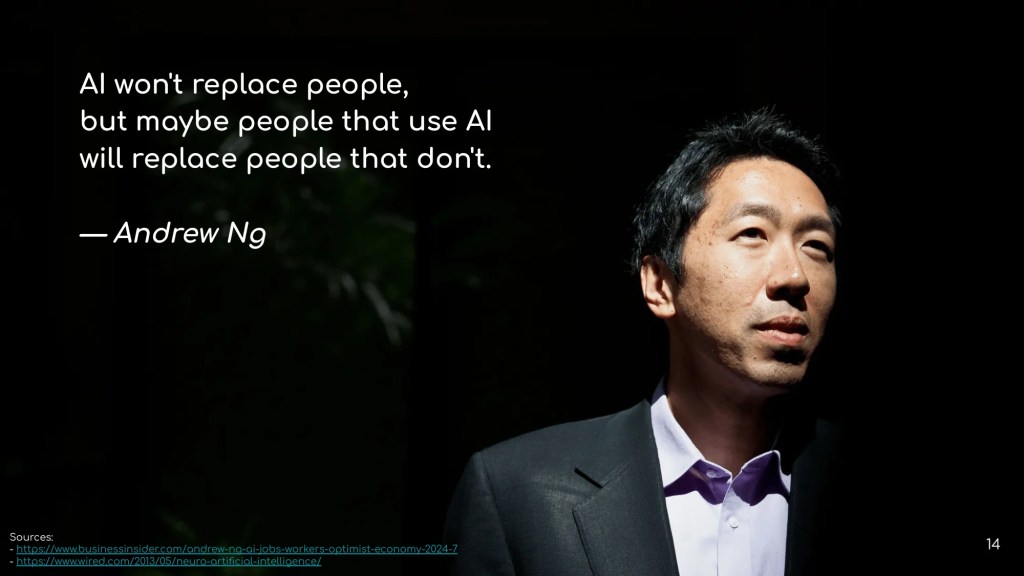
⭐️ Idea 8. AI Is for Experts
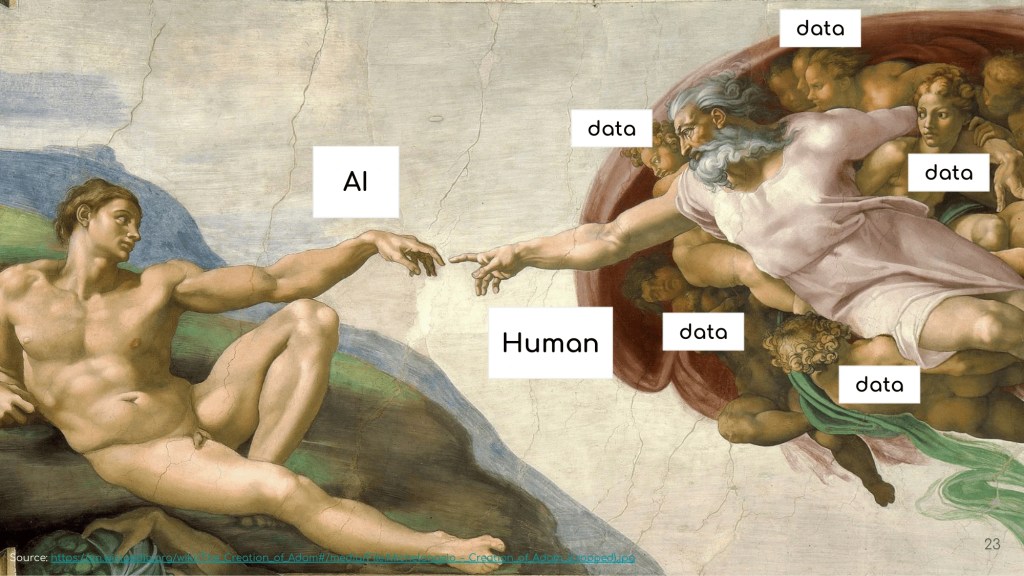
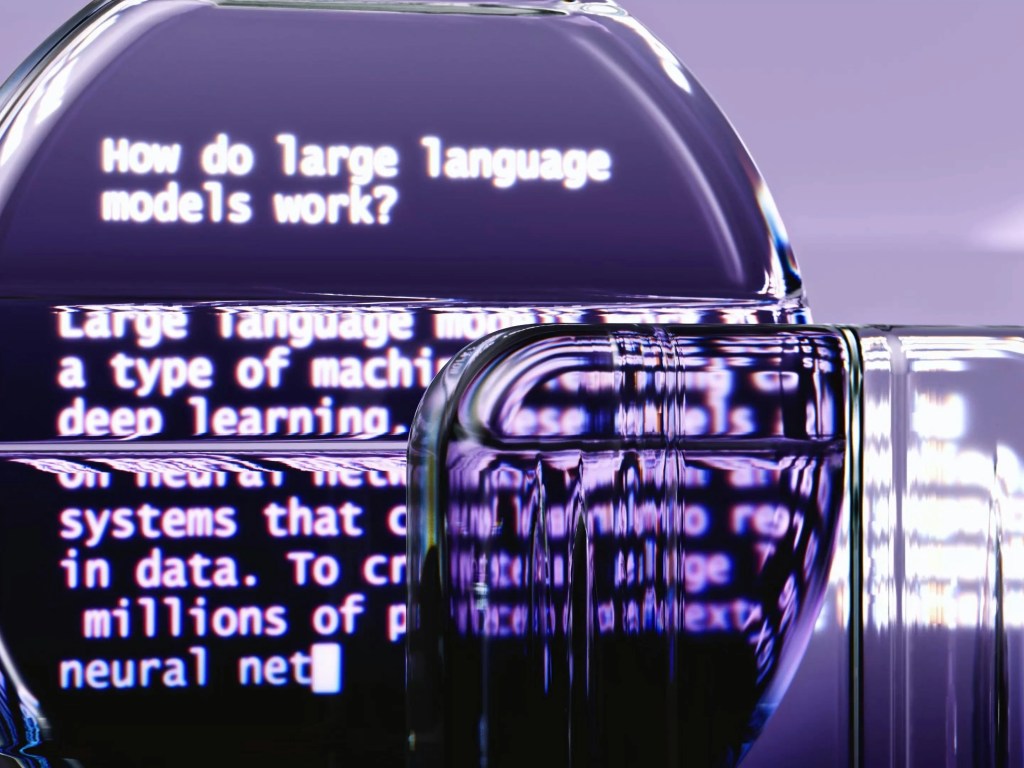
AI จะช่วยให้คนที่มีความรู้ได้ไกลขึ้น เพราะคนเหล่านี้รู้ว่าจะใช้ AI ยังไงเพื่อให้ได้ในสิ่งที่ต้องการ
เช่น Gemini CLI ที่สามารถใช้ tool ต่าง ๆ ได้ เช่น:
- Notion
- Canvas
- JavaScript
ถ้าเรารู้ว่าจะใช้ Gemini CLI ยังไง เราสามารถสร้างของที่ตอบโจทย์และเข้าถึงตลาดได้เร็วกว่าคนอื่น
(อ่านเพิ่มเติมเกี่ยวกับ Gemini CLI)
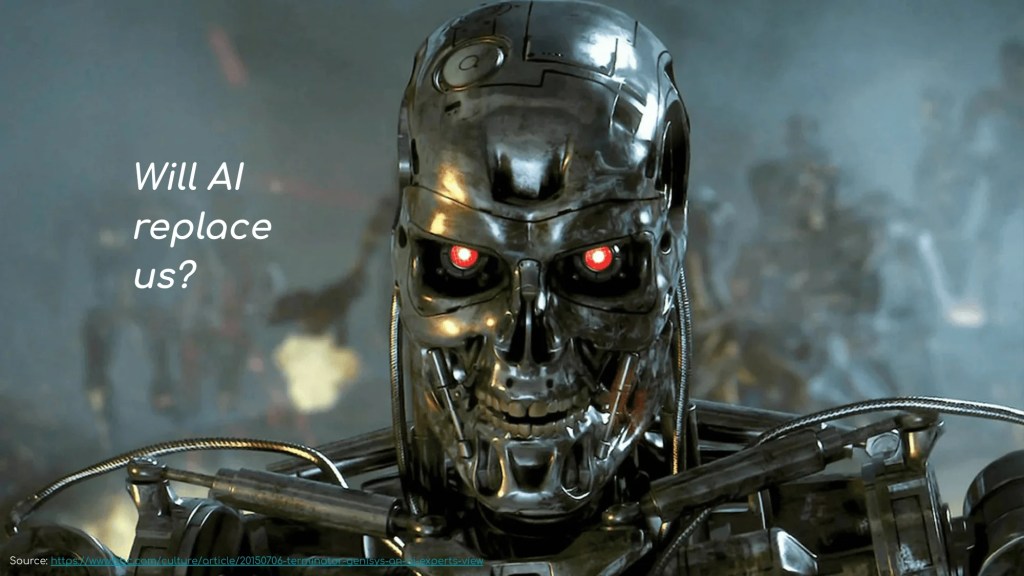
🧠 Idea 9. No One Knows the Future
อนาคตเป็นเหมือน Schrödinger’s cat ที่มีความเป็นไปได้มากมาย แต่มีแค่ความเป็นไปได้เดียวที่จะเกิดขึ้นเท่านั้น
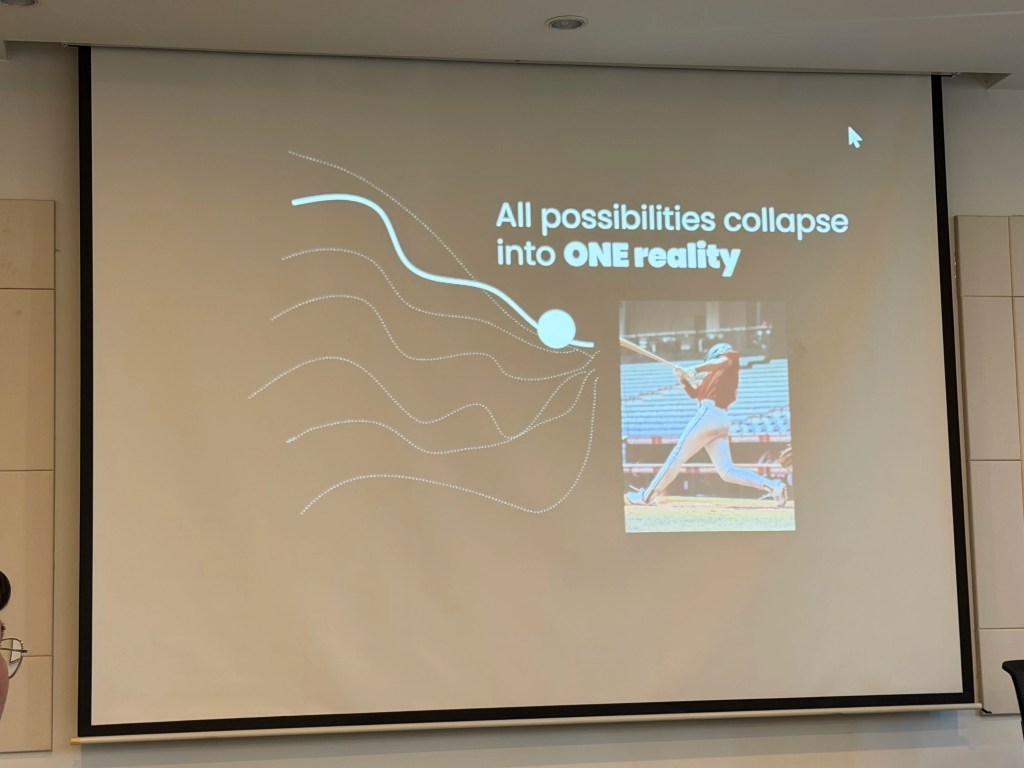
ไม่มีใครรู้ว่า อะไรจะเกิดขึ้นในอนาคต และเราควรใช้เวลาไปกับสิ่งที่เราควบคุมได้ และกำหนดทิศทางอนาคตของตัวเอง มากกว่าโฟกัสกับสิ่งที่ควบคุมไม่ได้ และปล่อยให้คนอื่นกำกับอนาคตของเรา
👏 Idea 10. Last Message
บทเรียนทิ้งท้าย 2 ข้อ:
- Do the right thing
- Play
.
Do the right thing: ทำสิ่งที่ต้องทำในเวลาที่สมควร
เช่น เราไม่จำเป็นต้องตื่นนอนทุกเช้าเพื่อประสบความสำเร็จ
ถ้าเราตื่นมาและใช้เวลา 30 นาทีแรกของวันไปกับ social media ชีวิตเราก็จะไม่เปลี่ยนไปจากเดิม
แต่ถ้าเราใช้เวลา 30 นาทีแรกไปกับการอ่านหนังสือ ชีวิตเราก็จะเปลี่ยนไปในทางที่ดีขึ้น
เราไม่ต้องทำตามคำแนะนำทุกอย่างของคนอื่น เราแค่ต้องทำในสิ่งที่ถูกต้องในเวลาที่สมควรเท่านั้น
Always do the right thing.
The rest doesn’t matter.
— Marcus Aurelius
.
Play: มองโลกเป็นเหมือนสนามเด็กเล่นที่เราเล่น ทดลอง เรียนรู้ และเติบโตได้
เมื่อเราทำงานที่เหมือนการเล่น เราจะมีชัยไปกว่าคนอื่น
Find what feels like play to you,
but looks like work to others.
— Naval Ravikant
🔔 ใครที่ชอบบทความนี้ ฝากกด subscribe และติดตามกันได้ที่:
- Website: shinoshigoto.com
- Facebook: Svaron Solution
- Instagram: @svaronsolution
- Thread: @svaronsolution